
Resources provide the Participants with detailed information in the form of text, video, image or other uploads that are shared by the Coach at various times throughout the engagement.
NOTE: Resources can be used across all of your projects, saving you time and enabling you to repurpose your content.
One of the first Resources a Coach may create might be a Coaching Agreement with clearly defined guidelines and expectations.
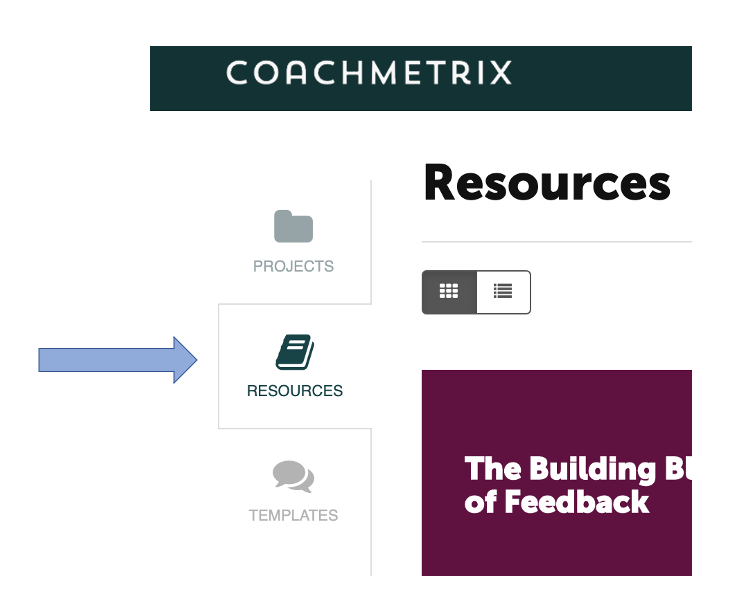
Resources can be found by clicking the tab on the left side of the page.
Creating a Resource
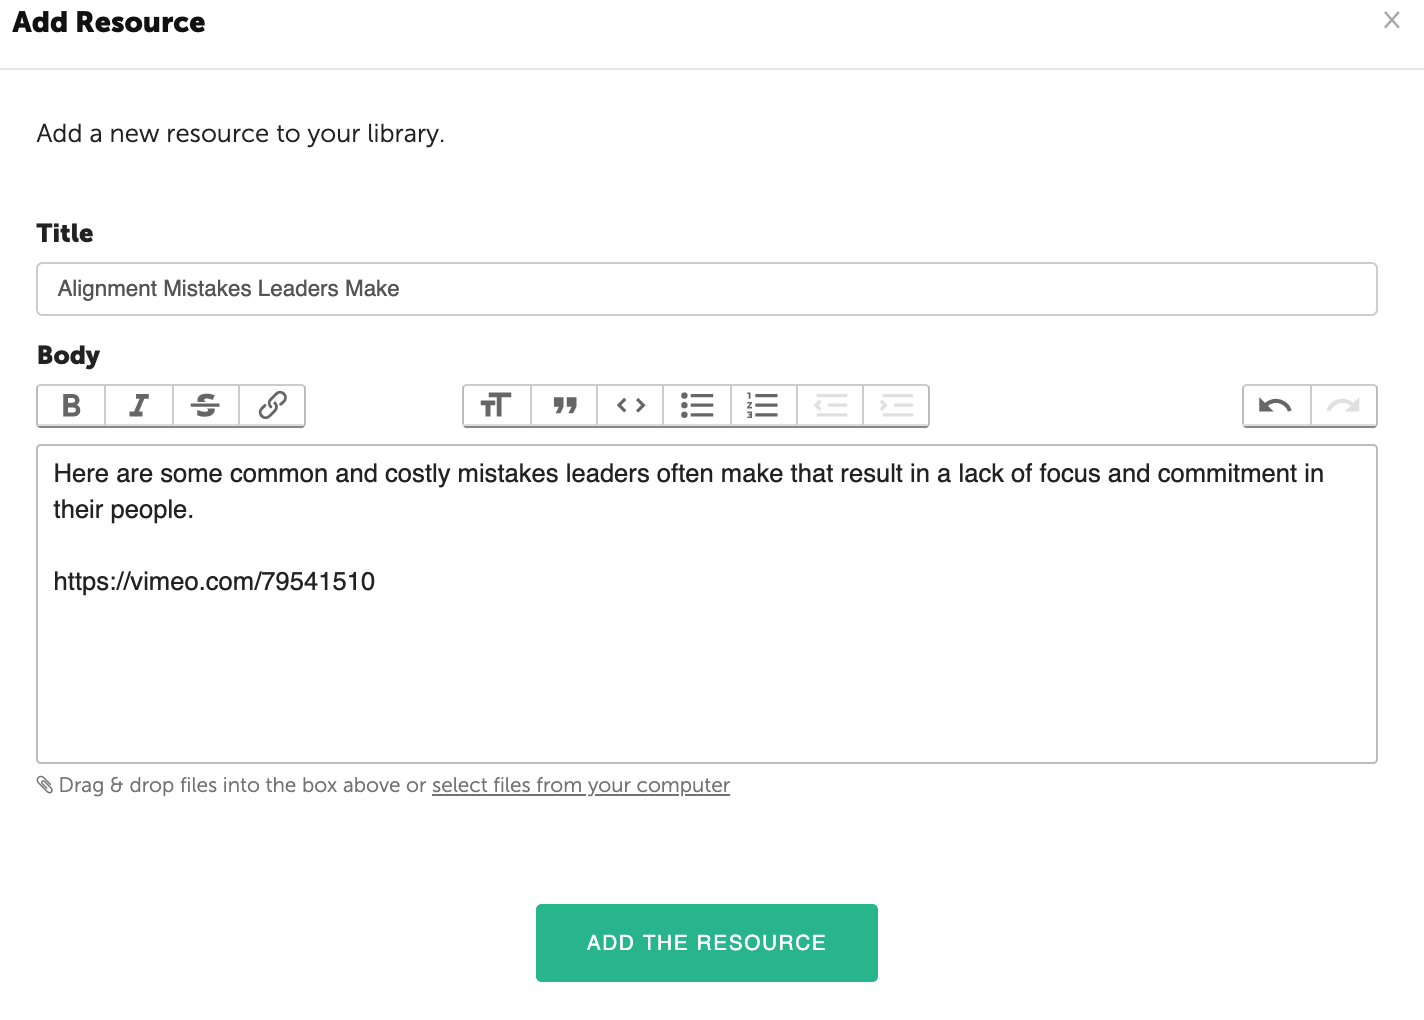
First click on the “Plus” in the upper right corner.

Then, populate a title and in the body, insert any text, images and/or video link (Vimeo or YouTube).
For more information regarding video: Add Video to Your Resources.
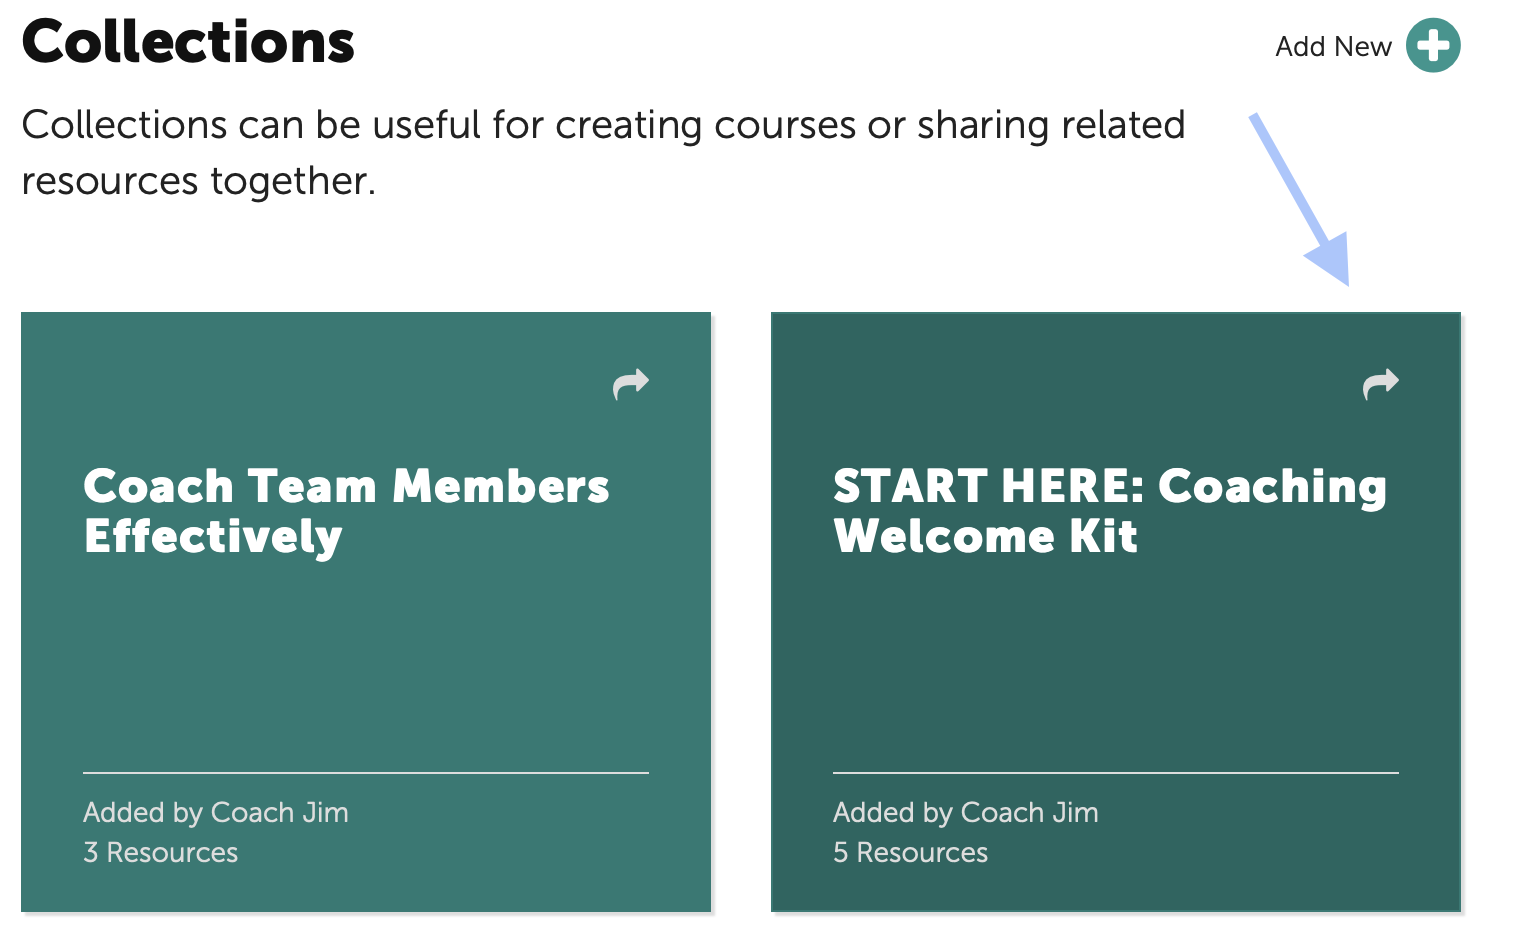
TIP: The Welcome Kit (Example) Collection was included to provide Coaches a framework for onboarding their Participants. A Coach can customized the content, include a personalized video and add the Coaching Agreement that was just created.
Sharing A Resource /Collection with Participants
To share a Resource or Collection, click on the arrow in the top right corner of the tile.
Then select the Project and Participants to receive the Resource / Collection.
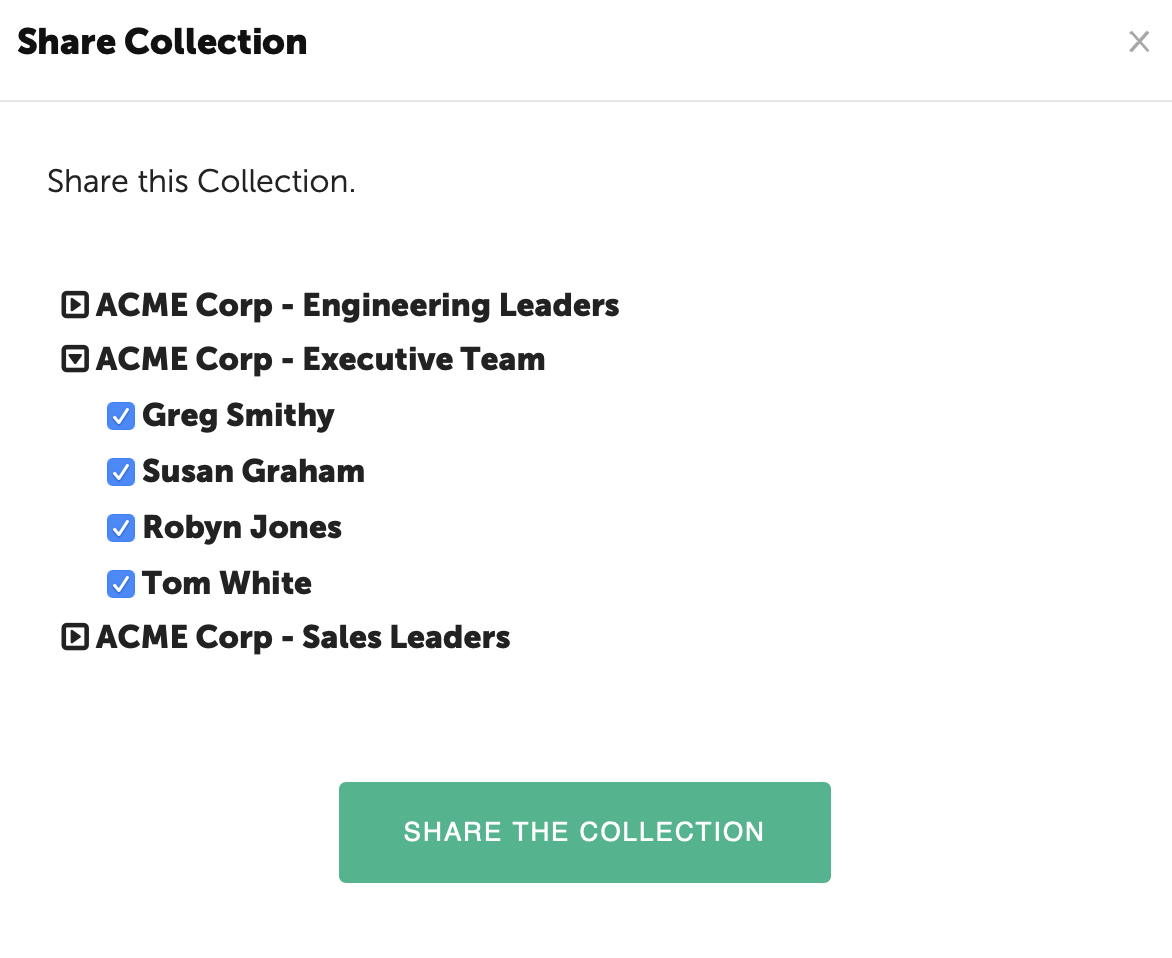
When finished, click the "Share the Collection" green button and the Resource / Collection will be available in the Participant's portal.